Essential Gear and Materials for Brick Building
To start your brick building journey, having the right gear and materials is crucial. Selecting appropriate bricks and tools ensures smooth and enjoyable construction.
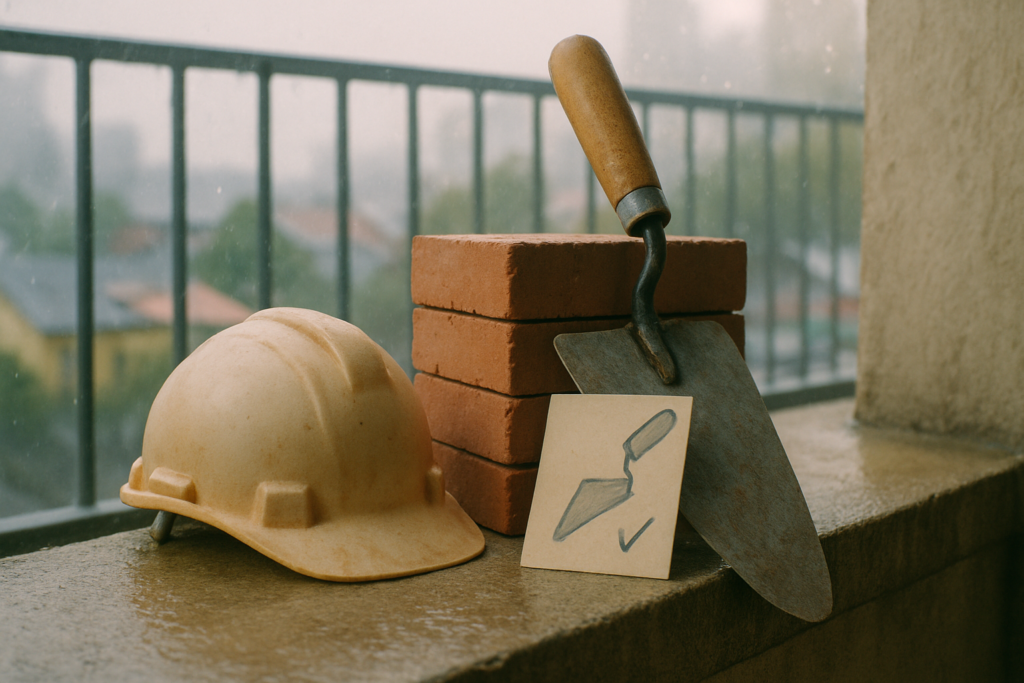
Choosing the Right Bricks
Selecting suitable bricks directly impacts the quality and durability of your structures. When buying bricks, consider their size, color, and texture. Standard-sized bricks (1.25 inches x 0.6 inches) provide versatility for various projects.
Opt for vibrant colors to add visual appeal to your builds. Avoid using worn-out or damaged bricks as they could compromise stability.
Tools Every Brick Builder Needs
Proper tools make your building experience efficient and enjoyable. Essential tools include:
- Brick Separator: Easily disassembles tightly connected bricks without damaging them.
- Baseplates: Provides a sturdy foundation for your creations, ensuring stability and ease of transport.
- Tweezers: Helps place tiny pieces accurately during intricate builds.
- Storage Bins: Keeps bricks organized by size, color, and type, facilitating easy access and reducing clutter.
- Building Guides: Offers step-by-step instructions for constructing specific designs, especially beneficial for beginners.
Invest in high-quality tools and bricks to elevate your brick building projects from the start.
Planning Your Brick Building Project

Planning a brick building project ensures a smoother and more enjoyable experience. Creating a solid plan saves time and effort during the actual building phase.
Understanding Blueprints and Layouts
Blueprints and layouts guide the building process. They provide detailed instructions and visual representations, ensuring that each brick is correctly placed.
Using custom or pre-designed blueprints helps organize the project’s stages, from foundation to final touches. My preference is starting with simple layouts and gradually moving to more complex designs as confidence grows.
Importance of Scale and Proportions
- Scale and proportions maintain the balance and realism of brick structures.
- Accurate scaling translates real-world dimensions into proportional brick forms.
- The proportions determine the size relationships between different structure parts, whether it’s a castle or a modern house.
- Adjusting scales and ratios ensures the end result is both structurally sound and visually appealing.
Brick Laying Techniques for Beginners
Understanding bricklaying techniques is essential for anyone starting their brick building journey. These methods ensure stability and creativity in your structures.
Basic Bricklaying Methods
Use a level surface to start your bricklaying for uniformity. Ensure each brick aligns correctly with the previous one. Apply even pressure when placing bricks, using a consistent amount of adhesive or mortar between each one.
Alternate brick positions to create stronger bonds and enhance the structure’s stability. Practice staggered patterns like the running bond, where each brick overlaps the next’s end, for improved durability.
Common Mistakes to Avoid
Avoid using too much or too little adhesive, as it affects stability. Ensure bricks align properly; misalignment leads to structural weaknesses and aesthetic issues.
Skipping the planning stage results in an inconsistent design. Avoid rushing the process; patience is key to achieving precision. Using varied brick sizes without proper spacing disrupts the flow and balance of the construction.
Enhancing Durability and Aesthetics
Ensuring your brick structures are durable and visually appealing is crucial for long-lasting satisfaction. I’ll share my insights on mixing mortar and applying finishing touches for professional results.
Mortar Mixing and Application Tips
Accurate proportioning, mixing techniques, and application methods are essential for a strong bond. Use a 1:3 ratio of cement to sand for standard projects.
Consistency matters; aim for a peanut-butter-like texture when mixing to ensure it sticks well to the bricks. Use clean water to avoid impurities that can weaken the mix.
When applying mortar, consistently spread it in layers about 3/8 inch thick. Work on small sections at a time to maintain control and uniformity.
Press each brick firmly into place to squeeze out excess mortar, ensuring a tight bond. Clean off any excess immediately to prevent hardening, which can be difficult to remove later.
Finishing Touches for a Professional Look
Final touches can significantly enhance the appearance of your project. Consider using a pointing tool to smooth joints and create an even finish. This not only looks neat but also helps prevent moisture ingress.
Tuckpointing, where you rake out part of the mortar joint and refinish it, can add definition and visual appeal.
For added aesthetics, apply a sealant to protect the bricks and mortar from weathering. Choose a clear, breathable sealant that allows moisture to escape.
Regular maintenance, such as cleaning with mild detergent and water, keeps your structure looking pristine and prolongs its lifespan.